
Node Catalog, Store and Custom Nodes
Browse versioned connectors, install packages and templates from a store, and publish your own nodes through a checked pipeline.
These images are illustrations of the concept, not screenshots of the actual product.
Overview
Every step in a FluidGrids workflow is a node, and this concept is about where those nodes come from. It brings three surfaces together under the Nodes area of the navigation: a catalog of versioned connectors that a workspace can install, a store where packages and ready-made templates are discovered, and a guided pipeline for publishing a node a team has built itself.
Automation tools tend to hit a ceiling when the one system a team depends on has no connector, or when nobody can tell which version of an integration a workflow relies on. The design treats connectors as an ecosystem rather than a fixed list: each node is a versioned package with a visible install state, first-party and third-party packages sit side by side with verification badges, and a custom node has to clear a sequence of automated checks and an approval step before it is deployed.
The Node Catalog opens with a summary of connectors, internal nodes and trigger types and a search box for connectors. A category rail filters by messaging, CRM and sales, payments, AI and LLM, databases, Google Workspace, developer tools, cloud and internal nodes, each with a count, and every connector card shows a version badge, a category and either an Install button or an Installed state. The Store widens the view with tabs for all items, nodes, templates and integrations, a featured connectors carousel, filters for category, free or paid pricing and verified publishers, and a sort control. Its cards carry a publisher, version, install count, category chip and a Verified or New badge, and workflow templates appear in the same grid. The custom node screen walks a submission through upload, manifest validation, tests, approval and deploy, with a checks panel, a manifest preview and a choice between keeping the node private to the workspace or submitting it to the store.
Installed nodes are what a builder reaches for on the canvas and configures in the node detail view. A custom node's manifest declares the credential types it expects, so it can be paired with a stored connection instead of holding secrets in the workflow itself. Templates found in the store lead into the template gallery's guided import, which lets a team pick up a proven pattern together with the connectors it depends on.
What this concept shows
- A catalog summary of connectors, internal nodes and trigger types, with connector search
- Category filtering with per-category counts, from messaging and payments to databases, cloud and internal nodes
- Connector cards with version badges and clear Install or Installed states
- A store with tabs for nodes, templates and integrations and a featured connectors carousel
- Store filters for category, free or paid pricing and verified publishers, with popularity sorting and grid or list views
- Package cards showing publisher, version, install count, category and a Verified or New badge
- A five-step custom node pipeline: upload, validate manifest, run tests, approval and deploy
- Automated checks for structure, security, tests, resource limits, API contract and documentation, beside a manifest preview and a private-or-store visibility choice
How it works
- Open Nodes to see the catalog summary, then browse connectors by category or search for one by name.
- Install a connector from its card; installed connectors show an Installed state alongside their version.
- Switch to the Store to discover further nodes, integrations and workflow templates, filtering by category, pricing and verified publishers.
- To add a connector of your own, upload a packaged node to start a submission and let its manifest be validated.
- Review the automated checks and test results next to the manifest preview while tests run.
- Choose whether the node stays private to the workspace or is submitted to the store, then save a draft or deploy once approval is complete.
Who it's for
- Automation and operations leads
- Integration developers building custom connectors
- Workspace administrators governing which nodes are installed
- SaaS product teams extending automation to their own systems
Illustrations
3 illustrations of this concept. Select one to view it full size.
Node Catalog by Category
This illustration shows the Node Catalog inside the main workspace layout, with Nodes selected in the left sidebar and a plan usage meter beneath it. A header summarizes the catalog as counts of connectors, internal nodes and trigger types (sample figures), next to a search box for connectors. On the left, a category rail lists All, Messaging, CRM and Sales, Payments, AI and LLM, Databases, Google Workspace, Dev Tools, Cloud and Internal, each with a count. The main grid holds connector cards for services such as Slack, Stripe, GitHub, OpenAI, PostgreSQL and AWS. Each card pairs a logo with a version badge and a category label, and ends in either an Install button or an Installed confirmation. Page controls sit below the grid. The design demonstrates how a workspace can see its integration coverage, and the exact version of each connector, before adding it to a workflow.
Store of Nodes, Templates and Integrations
Here the concept presents the Store, a marketplace view with tabs for All, Nodes, Templates and Integrations and a search box that spans all three. A featured connectors banner highlights a handful of packages, with a View all featured link and a carousel arrow. A Filters panel on the left offers category counts for data, productivity, communications, AI and ML, utilities and other, free and paid pricing checkboxes, a verified-only option and a Reset link. The results area reports a result count, a Sort by Popular menu and a grid or list toggle. Each card shows the package name, its publisher (either the FluidGrids team or a third party), a version number, an install count, a category chip and a Verified or New badge. Two cards are workflow templates rather than nodes, showing that templates and connectors are discovered in one place. Publishers, install counts and other figures are illustrative sample data.
Publishing a Custom Node
This screen shows the design for publishing a custom node, using a sample ERP connector at version 1.0.0 with a copyable submission ID. A five-step progress tracker shows Upload ZIP and Validate manifest completed, Run tests in progress, and Approval and Deploy pending. A Checks panel lists structure and manifest, security scan, automated tests with a count of passing tests, resource limits, API contract and documentation, each marked as passing, along with how long ago testing started and a link to the test logs. Beside it, a manifest preview with a copy button declares the node's name, version, display name, type, description and entry point, its operations with their HTTP methods and paths, and the credential types it expects, such as basic authentication or an API key sent in a header. A bottom bar sets visibility to workspace-private or submit to store, with Save draft and Deploy actions.
Topics
- workflow automation connectors
- node catalog
- integration marketplace
- install workflow connectors
- custom workflow node
- publish a custom connector
- connector versioning
- verified integrations
- automation node store
- build your own integration
Related concepts

Connections and Credentials
Authorize external services once, reuse them across every workflow, and keep the secrets out of the canvas.
2 illustrations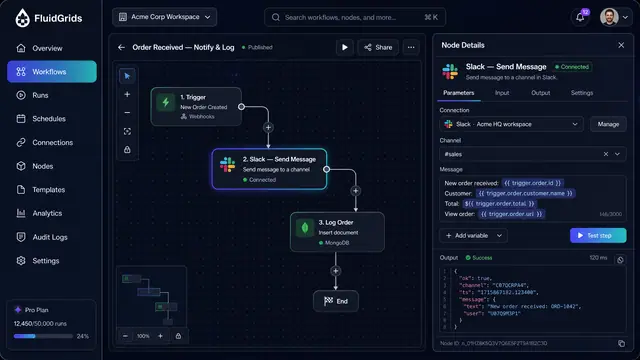
Node Configuration, Data Mapping and Code
Configure a step against a saved connection, map fields between services by dragging lines, and drop into sandboxed code when needed.
3 illustrations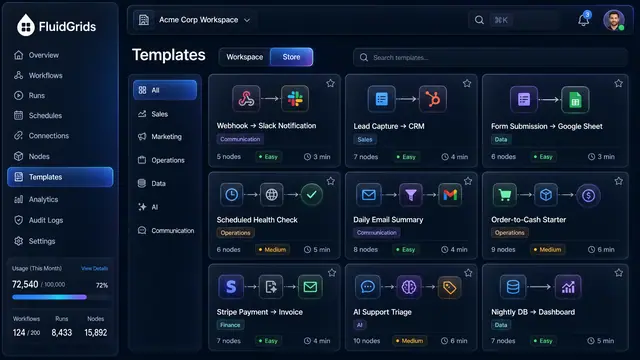
Template Gallery and Guided Import
Start from a ready-made workflow, preview it, fill in its inputs and connections, and import it as a draft.
2 illustrations
AI-Authored Workflows and Nodes
Describe an automation, or a missing integration, in plain language and get back an editable draft you can open in the builder.
3 illustrations